Navigating the Portal
The GRM Portal features common functions between pages, from searching entries and exporting lists to saving entries.
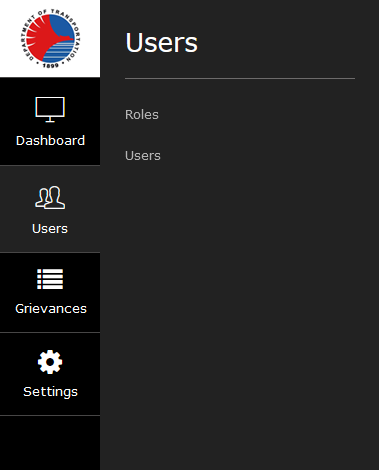
Sidebar menu

The sidebar menu allows the user to navigate through the portal's different sections by clicking on the corresponding menu item. It is always present on any page of the GRM Portal once logged in.

Hovering over any menu item will show a submenu that shows clickable subsections for that item.
Top menu

Always present on any page of the GRM Portal once logged in, the top menu shows two clickable items:
- Notifications icon (bell), clicking this will take you to the Notifications page,
- User panel that shows the user's username and full name. When clicked, this shows a submenu of functions, detailed in the Your Account page.:
- My profile - Lets you change your account details (e.g. name, contact number).
- Change password
- Sign out
Logs

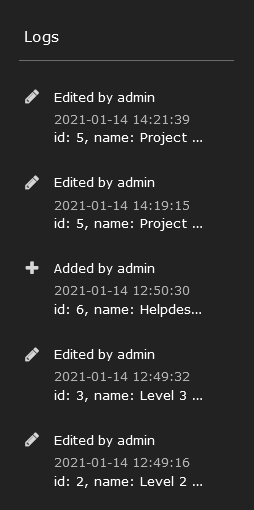
On certain pages, the “Logs” button will be present. Clicking this button will reveal a side panel that shows a history of activity on that page.

Actions such as adding, editing, and deleting entries are shown in this panel. It will display:
- The action and the user who performed it,
- Date and time it occurred
- Entry ID and name
Search

List pages have a search filter. Entering any text will filter the list to show only entries containing any of the words entered. The field starts filtering results as soon as you type into the search field. Note that this functions searches through all of the date in the list, not just the names or IDs.
Pagination controls

On list pages, list entries are displayed in pages. Navigating through the pages is possible by the pagination controls at the bottom of each list. On the left, it shows the entry numbers being displayed, and the total entries in that list. On the right are the pagination controls:
- First - takes you to the beginning of the list
- Previous - goes back one page
- Numbers take you to that page of the list
- Next - goes forward one page
- Last - takes you to the end of the list

On the upper left of the page, the “Show entries” dropdown defines how many entries per page are displayed. You can choose between 10, 25, 50, and 100 entries per page.
Sorting

On list pages, you may also sort the list based on any of the displayed details by clicking on the list header. This toggles sorting between ascending order and descending order. Note that sorting affects the entire list, not just the current page being shown.
Filter

On some list pages, you can also narrow down the list using filters. Similar to searching, type any text on a column filter and it will only show entries that contain the search text in that column.
Export List to Excel

On list pages, you have the option to generate a Microsoft Excel file from the list displayed. Simply click on the “Export List to Excel” button at the upper right of the page and it will prompt you to download a XLS file based on the listed rows and columns in that page.